Life is Sweet
Come be a kid in our candy store.
With just one difference.
No restrictions, no judgement, no budget.
It'll be our secret.
*And we won't tell your Mom.
About Us
Crafting Sweet Memories
At Life is Sweet, our journey began with a heartfelt passion: to recreate that candy store experience you cherished as a kid. Since 2006, we've been dedicated to bringing together candy lovers of all ages in a special place filled with rows of jars brimming with sweets. Here, we treat our customers like family, sharing our love for candy and creating sweet moments together. Every visit is a celebration, and we’re here to make life just a little sweeter.
Time to Expand
From New Hampshire to the Charlotte Metro area.
10 New Shops over the Next 18 Months!

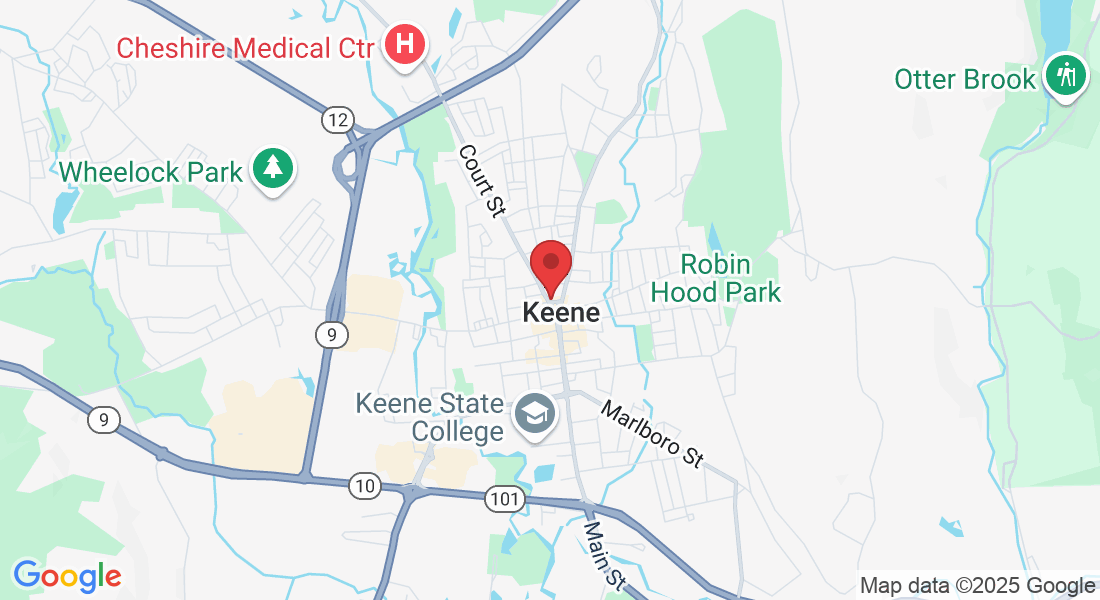
Downtown Keene, New Hampshire
Since 2006, our Keene location has been the heart of Main Street—the kind of place locals proudly bring visiting family and friends. For nearly two decades, we've been the go-to destination for holidays, celebrations, and everyday treats.
With something sweet for everyone, Life is Sweet is an easy choice for any occasion.
McAdenville, North Carolina
Location #1
Our first location outside of New England found its home in Christmastown U.S.A.! Since May 2024, we’ve continued our tradition of community support by partnering with Gaston County libraries, proudly serving as the grand prize for every child who completed the summer reading program. We’re expanding this commitment to Charlotte and York, sharing the joy of reading and sweets.
Though our McAdenville location enjoys a peaceful charm most of the year, at Christmas it truly comes alive! For the 2024 season, Life is Sweet will have two McAdenville locations—bringing even more holiday cheer to serve and enjoy with you.

Lake Wylie, South Carolina
Location #2
In July 2024, we were thrilled to partner with another passionate small business owner, Big Time Boba. Sharing retail space with an established local favorite allows us to quickly connect with the community and offer even more to our customers. We're excited for this opportunity to bring sweetness and fun together under one roof!
Expansion into the Charlotte Metro area
Coming Soon ~ Locations 3 -10
At Life is Sweet, we believe in the power of community—and the joy of candy. Our mission is simple: to expand throughout the metro area, connect with every neighborhood, and become the beloved spot everyone insists on sharing with visiting family and friends. We're on the hunt for our next few locations, bringing sweetness to even more communities!

Let's Buy Candy Online
We bring the magic of Life is Sweet online! In 2020, circumstances challenged us to lean into e-commerce—and we embraced the opportunity to share "candylove" far beyond our local community. Suddenly, we were making candy friends across the country and even around the world! Through initiatives like our Birthday Club, now with over 150,000 participants, we’ve grown our candy family and will continue to expand it, spreading sweetness wherever we go.
Our Customer's Say...

Hi guys & girls!
Just received our box of candy today and OMG it’s awesome all the candy is fresh! Like I know what your thinking, what does she mean fresh? Well I love Mike & Ike’s and sometimes store bought they're past their prime...and hard and gross haha. Not yours! Everything is great and I’m sure we’ll be ordering more soon!
* Great business & already shared on IG
Courtney Giannetti

Five Stars!
Great atmosphere, high quality candies and confections and beyond friendly and helpful staff!
Vincent Garofoli

Hi! I just heard from my twin grandsons who just received the package due their birthday.
They were over the moon with joy!
Best birthday present ever! And my daughter-in-law is going to buy her niece a box for her birthday too.
Meet Tracy "The Candy Lady"
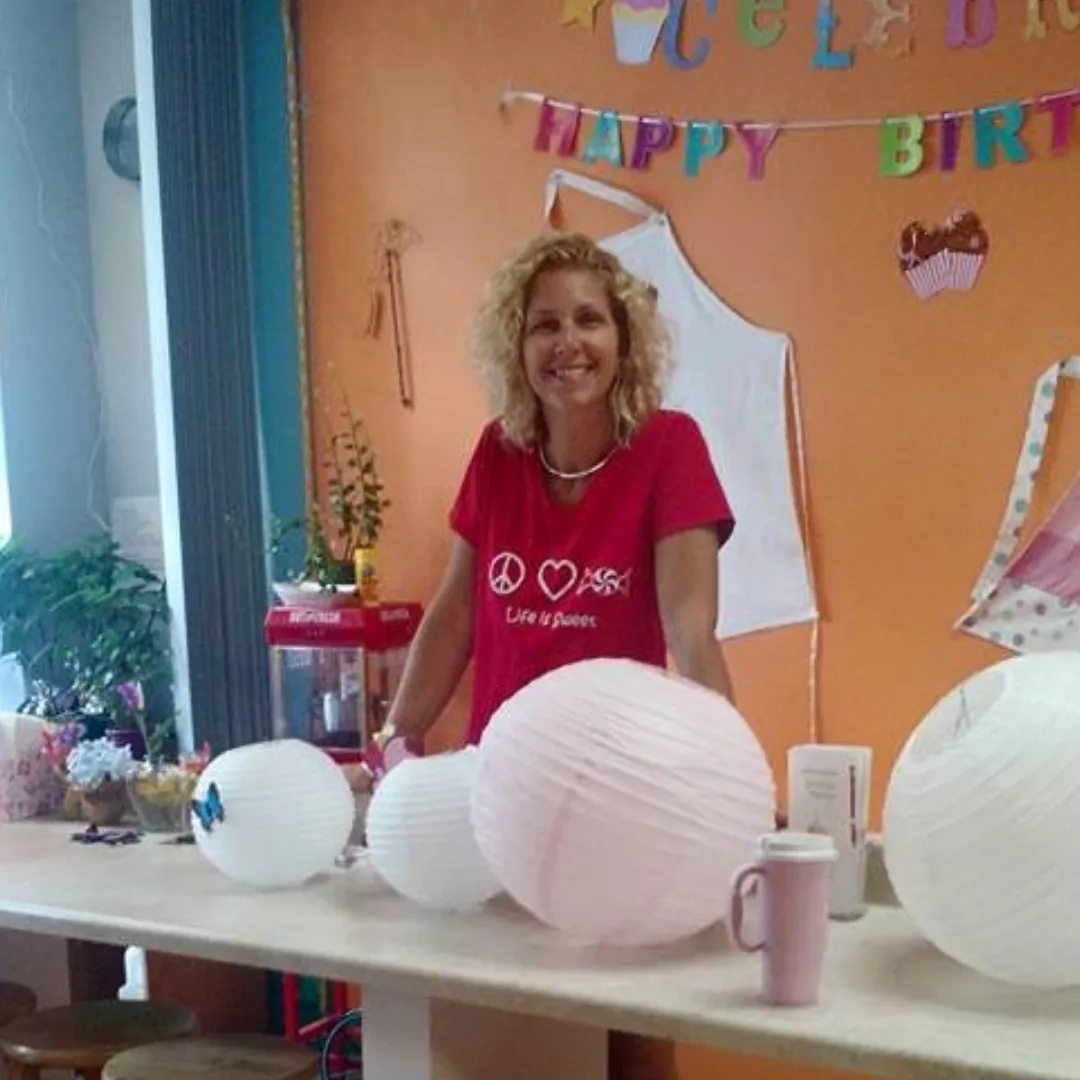
Tracy Gunn
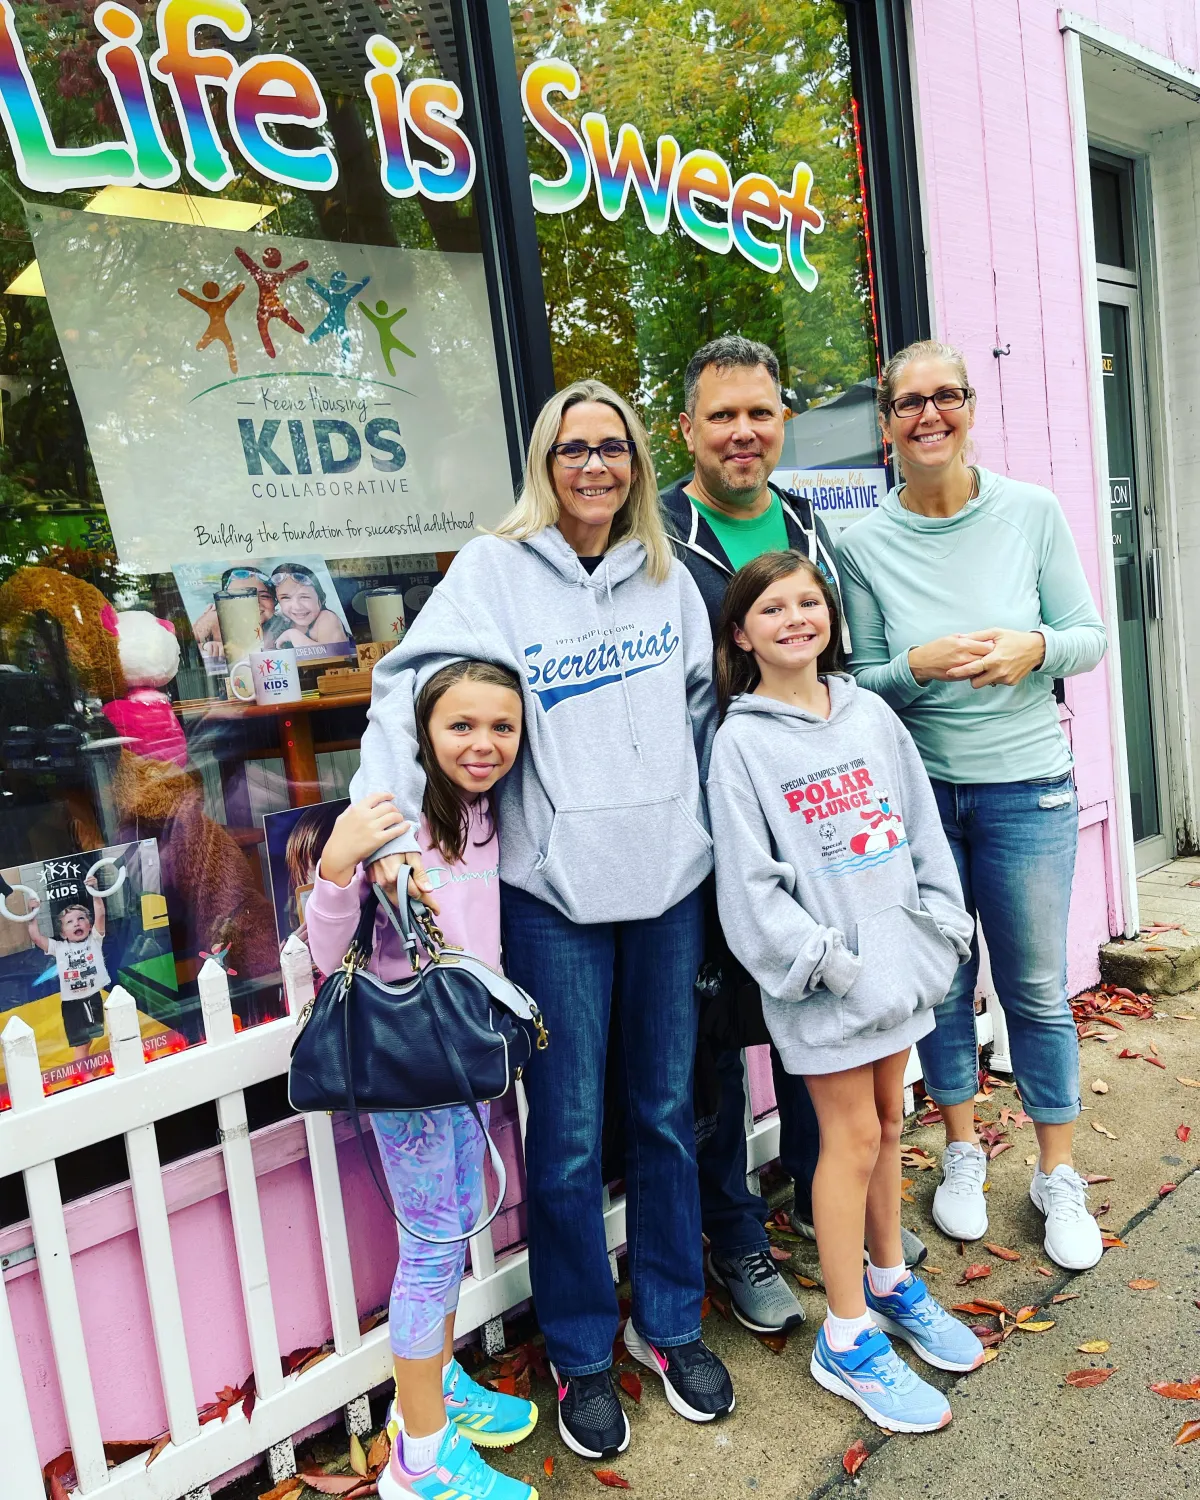
Tracy 💗 Customer
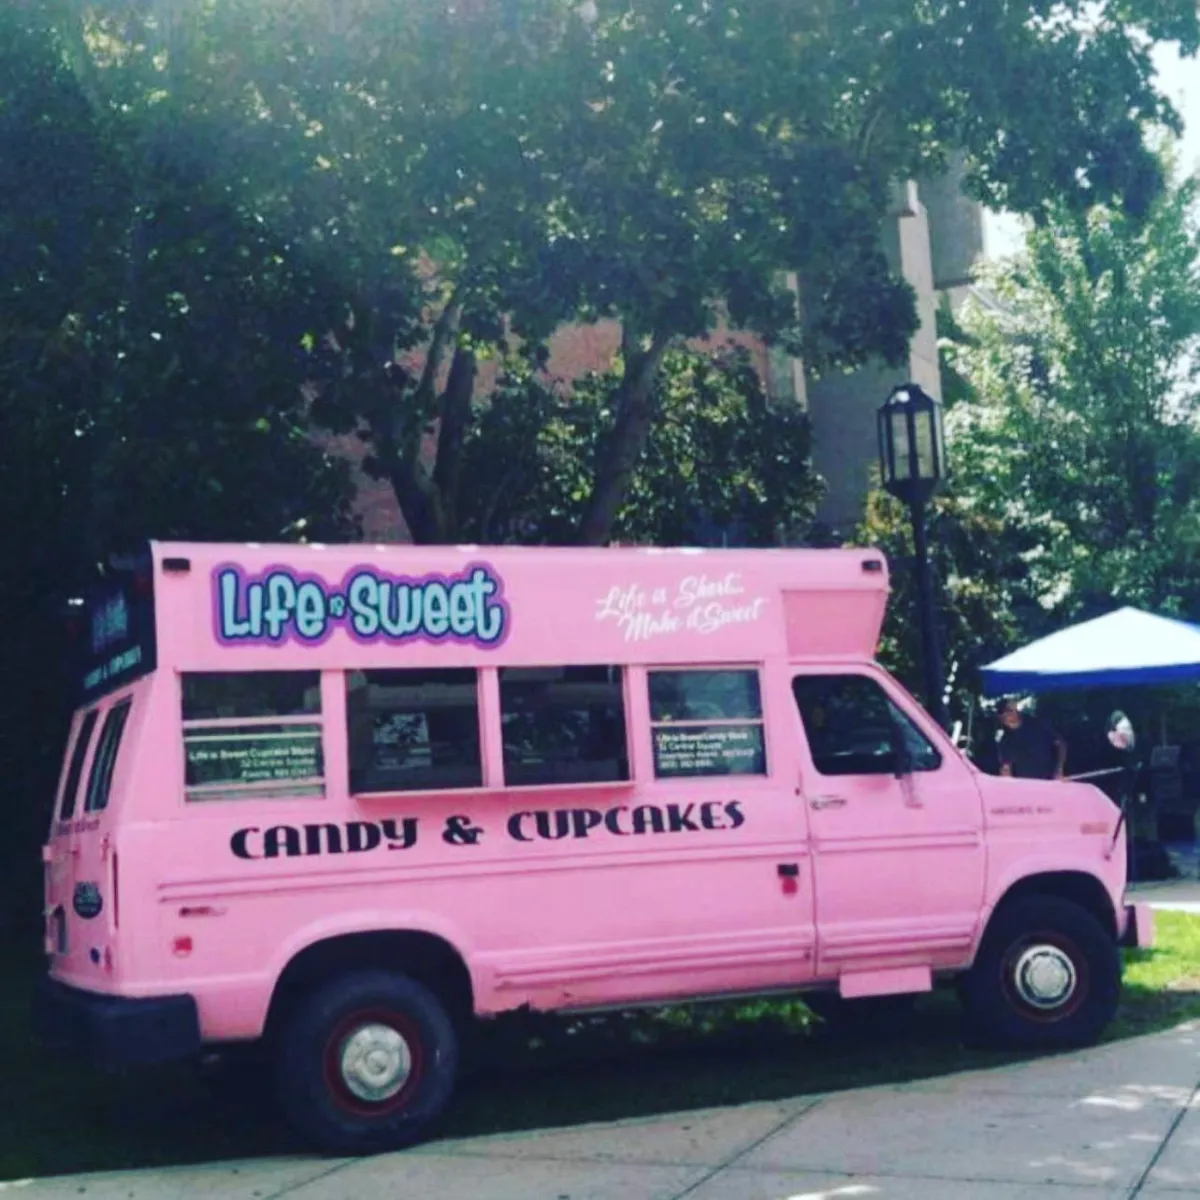
"Short and Sweet"
